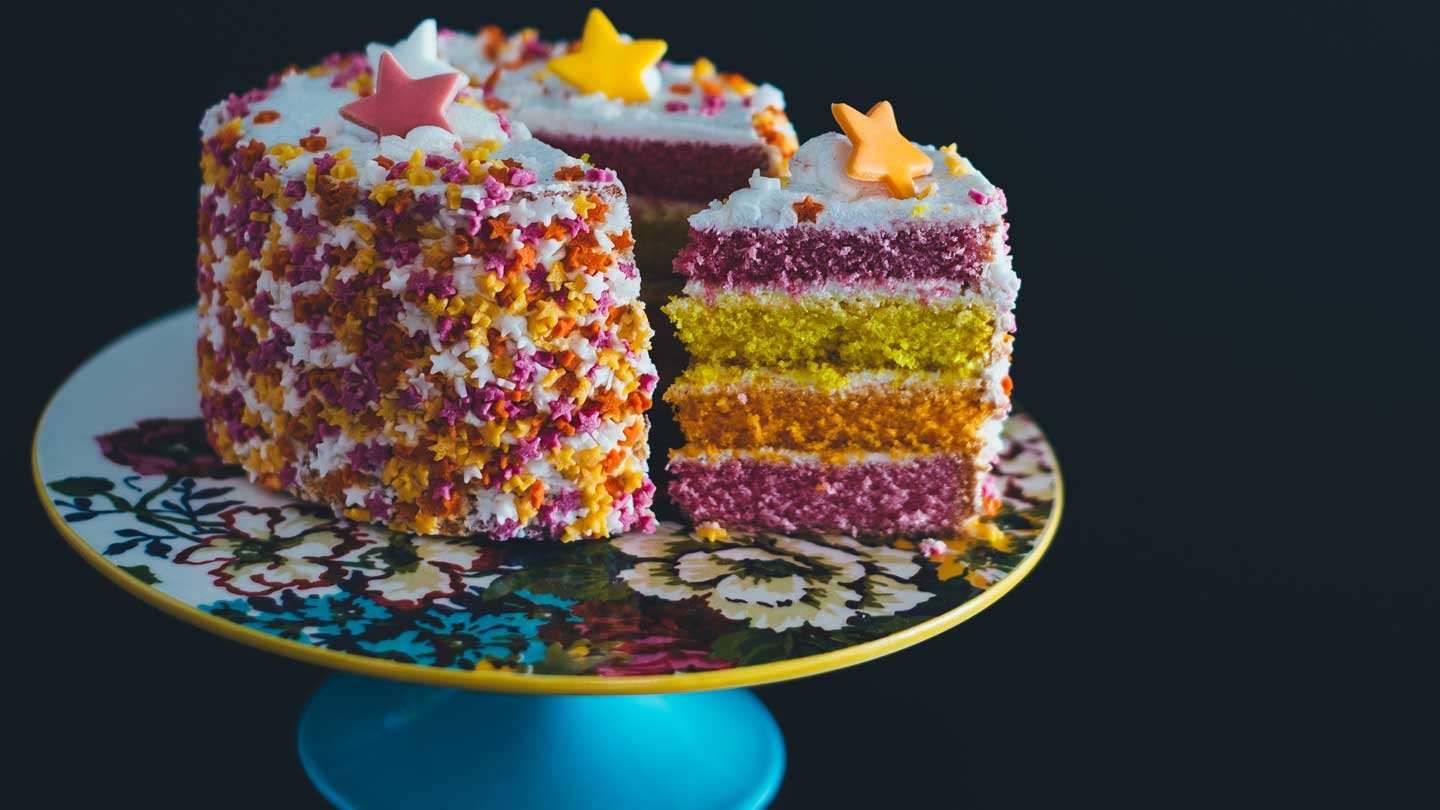
Don’t worry if you’re afraid of cake designing. It’s simpler than you think to make a gorgeous cake. I will tell you all about cake prep in this blog post.
Many people ask me for advice on designing cakes, and I always tell them the same thing: don’t worry, it’s simpler than you think. You’ll find many videos and tutorials on Instagram of people utilizing fancy decorating tips, fondant, paintbrushes, and other things.
But, in reality, you don’t need all of that to make a lovely cake. In fact, you only need one tool: the all-powerful offset spatula. However, before you learn all that, you need to know how to do your cake prep.
Before you do your chocolate decorations class, here is how to set you up for success.
#1. Make sure your cakes are level.
Before the icing ever touches the cake, the secret to a wonderfully adorned cake is revealed. You’ll need to level the cake to have an even layer cake. Unless you have a very excellent oven, the center of your cake will probably have risen more than the sides when you remove it.
The reason behind this is because the edges of the cake pan transmit heat faster than the interior of the cake, causing them to set early and cease rising. In contrast, the center of the cake continues to rise, resulting in the little hill/muffin top in the middle. You’ll need to get rid of that top if you want an even cake.
Wait until the cake has completely cooled before gently slicing off the top with a long, serrated knife, using the sides and edges of the cake as a guide to keeping your knife even. This, like icing a flawlessly smooth cake, takes some practice but is simple once you figure it out.
#2. Prepare your cakes by freezing them.
Frosting the cake will be much simpler if each cake layer is frozen for at least an hour ahead of time, as it will help keep the crumbs in and produce a harder, smoother surface. Wait until each layer has completely cooled to room temperature before freezing a cake to avoid spoiling its taste or flavor.
After levelling them (as stated above), firmly cover each layer in plastic wrap. You may even double wrap it and finish with another layer of aluminum foil to ensure that no part of it is exposed. It will prevent any strange odors or tastes from seeping into the cake (this is only worth it if you’re freezing the cake for more than a few days).
#3. Make use of a crumb coat.
A crumb coat is a fragile coating of icing applied to a cake. It essentially prevents your offset spatula from pulling and picking up any stray crumbs while you’re decorating. You can also use dark chocolate flake while decorating. It’s preferable to chill the cake in the refrigerator for at least an hour after creating a crumb coat.


